Enjoy these homemade marshmallows without guilt! You can sweeten them naturally with pure maple syrup instead of high fructose corn syrup or refined sugars.
Marshmallows!
I have NEVER seen Matt eat a marshmallow in the 17+ years we have been together. Sugary treats do not easily entice him. The lucky dog.
I’m pathetic and weak when it comes to sweets. I remember pillaging my sister’s pantry closet for something sugary only to shove a stale marshmallow into my mouth as she came in the door! When we had a gas stove I would roast marshmallows over the burner flame all year ’round – no need for a special occasion.
I’m not sure what it is about marshmallows that I love so much. Maybe it’s the light, pillowy, soft-as-clouds texture. Or the sticky innards inside that delicious and velvety exterior. Yum!
But it’s hard to love something when you feel guilty eating just one. The high fructose corn syrup, refined white sugar, and total lack of nutritional value in a marshmallow are really awful.[1] So, I found a way to make marshmallows a much more healthful treat, by eliminating the refined sugars and corn syrup that is still present even in most homemade varieties.
READ RELATED: A Simple and Delicious Spicy Ketchup Recipe
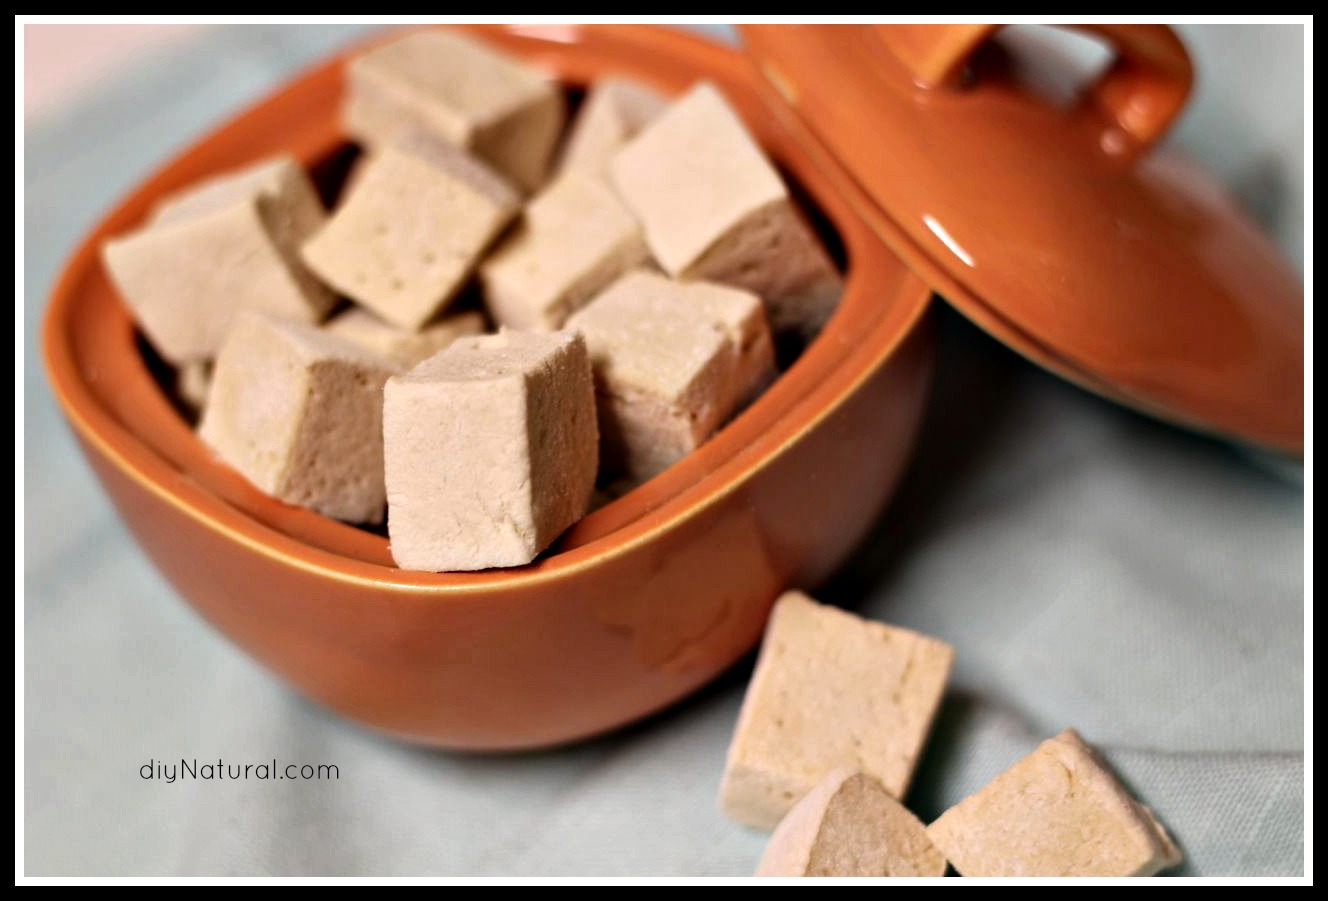
Homemade Marshmallows!
Pure maple syrup is the secret to sweetening these marshmallows naturally. The result is a light, sweet, fluffy marshmallow that tastes so much better than store-bought.
Even Matt likes them!
I love how simple this project is, and now I’m not racked with guilt when I want to top my hot chocolate with marshmallows (or hide in the pantry and shove them in my mouth).
Homemade Marshmallows (Sweetened Naturally)
Ingredients
Instructions
- Begin making your homemade marshmallows by greasing a 9×13 pan and dusting with arrowroot flour or cornstarch.
- Add cold water to a medium mixing bowl and sprinkle gelatin over water. Set aside.
- Add maple syrup and salt to a medium saucepan. Heat to 240° over medium-high heat. Watch pan closely so the syrup does not boil over. (Note: Be very careful not to allow any of the hot syrup to get on your skin!) When the syrup has reached 240°, remove from heat.
- With a hand mixer or stand mixer on low, slowly add syrup into the gelatin mixture by drizzling it down the side of the bowl. When ingredients are combined, add vanilla. Beat on high until mixture is light and fluffy and marshmallow sticks to beaters. (If you mix too long the marshmallow will become one big clump and will not pour into your pan.)
- Spread marshmallow mixture into your prepared pan.
- Allow the pan of marshmallow to dry (several hours or overnight), then turn out on a surface dusted with arrowroot flour or cornstarch. Cut into squares with a wet or buttered knife. Once cut, roll individual marshmallows in a little more starch to prevent sticking.
Notes and Tips
- Store your fresh homemade marshmallows in an airtight container.
- If you dislike the taste of maple syrup, these can also be made with your favorite honey. Just be sure to choose mild honey so the flavor isn’t overpowering.
- I like to use arrowroot as the starch for dusting. It is a white, flavorless, easily digestible starch (and not likely to be made from genetically modified ingredients like cornstarch). It can be found in most health food stores. Feel free to use any starch you’re comfortable with.
- You do not need a stand mixer to make this recipe, although it’s more convenient.
Skeptical about the flavor of this homemade goody? I should tell you they’re so good I had to chase Matt out of the kitchen so I could get a picture of the homemade marshmallows. Don’t say I didn’t warn you.
*******
Sources
- Kraft Jet-Puffed Marshmallows. Accessed March 2020.
Source: DIY Natural – Food