
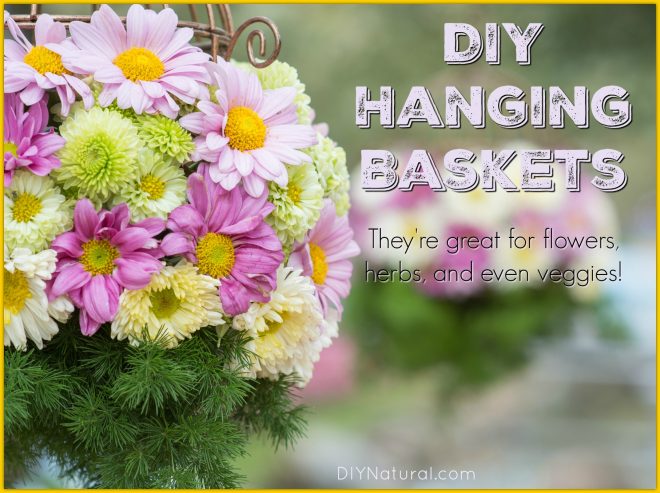
Why I Love Hanging Baskets
I like the look of flowers anywhere, and on a wide front porch, hanging baskets just seem right. I like to put up about 5 baskets, with hummingbird feeders in between them. Hanging flowers on the porch invite the hummingbirds, bees, and butterflies.
I love making my own because I know I can make much nicer ones than I see in stores. You can add a lot of color, match your home or outdoor decor, or do something funky.
Another reason I love hanging baskets is for the convenience of watering – it’s so easy to just go along and water them all in a row, rather than having plants scattered everywhere. If they are hanging, the neighbor’s cat or that pesky squirrel can’t get into them.
DIY Hanging Baskets: How to Make Your Own
Start With the Basket
Plastic is an obvious choice, but it does break down in the sun over time and many people are trying to get away from using plastics. Other alternatives are wood, vine, rope, ceramic, terra cotta, hypertuffa, and other materials. Mine are a woven vine that is probably grape. I’ve also had willow baskets that work well.
Whatever you choose for your basket, be sure it is large enough to contain the plants you want and sturdy enough to withstand wind and weather.
Types of Plants to Use
This is the fun part – you can use almost any kind of plant that doesn’t get too tall. Good choices are vines or plants that will cascade over the edges. Here are some good examples:
- Petunias
- Verbena
- Moneywort
- Vinca
- Vine Geraniums
- Lantana
- Begonia
There are so many plants that it would be hard to list them all. You’ll need to consider a few things before you make your choices:
- How much sun does the area get? Not much? Begonias and Impatiens are great for shade. Lots of sun? Try Geraniums or Lantana.
- How much maintenance are you willing to do? If you won’t be able to get to it much, choose a larger pot so that it won’t dry out quickly. And think about plants that don’t need dead heading, or taking off the spent blossoms.
Using the Right Soil
For DIY hanging baskets, you’ll want a lightweight soil. Try to stick with a potting soil or if you make your own, use some perlite with it to lighten it up. Perlite is a natural material made from heated and expanded volcanic glass. It is very lightweight and holds a good amount of moisture.
Another product I would include is sphagnum moss, which will hold 20 times its weight in water. Any pot outside is in constant danger of drying out, especially if it’s warm outside. Whatever soil you choose, be sure it has some compost or aged manure added to it. This will provide a wealth of nutrients.
READ RELATED: Kentucky Kandy: A Sweet and Bourbon BBQ Sauce
Tricks for Retaining Moisture
An old trick to keep your baskets from drying out is to place a clean disposable diaper in the bottom of the pot before adding the soil. While the sodium polyacrimide or sodium polyacrylate will absorb moisture and keep it available for your plants, it’s not a natural material. I have used it and it does work very well, but a lot of people prefer to use natural, hence the sphagnum moss. Peat moss may be sphagnum, but it could be something else and it is ground very fine. This doesn’t hold moisture as well as sphagnum moss.
Planting Your Basket
First, wet your basket down. This will prevent the pot from pulling moisture out of the soil. Then place about ⅓ of the volume in soil into your pot. Dampen it well and tamp it down. Then add another ⅓ and do the same. Then you can start placing your plants inside.
If you’ve bought your plants in pots, don’t loosen up the soil yet. Try a few ways to arrange the plants before you finish. When you are happy, loosen up the roots of the plants, place them where you want them, and fill in the rest of the pot with soil. Water it well and add more soil if you need to.
You want the soil level about ½ inch below the top edge of the pot. This is so the water doesn’t run off when you water. When you are finished, water it one more time and let it sit overnight. Some of the soil might settle after a while and you’ll need to add more.
Caring for Your Hanging Plants
Water it. Plants need about an inch of water a week. I place mine on the lawn if I know we’ll get a good soaking rain.
Add fertilizer sparingly. As a Master Gardener, I learned a saying – “Weakly Weekly.” This means to cut your average feeding in half and feed once a week, not the full amount every two weeks. If you are feeding another way, just cut back and do it more often.
You probably won’t need to weed much, but if you do, just pull them out.
You might need to cut some plants back if they get too long. Just snip them off to the length you prefer.
Not Just for Flowers
Remember, DIY hanging baskets aren’t just for flowers! I had cherry tomatoes in hanging baskets long before they came out with the upside down tomato planter. I also keep a basket with the most common herbs in it closer to my kitchen. That way I can go out and just snip a bit off. I also love to plant peas in a basket. When they get too long, I just loop the vine up and around. Then it forms kind of a nest and the peas are easy to harvest. Strawberries? Sure, why not! You can really do almost anything in a hanging basket.
Do you use hanging baskets? Have you ever planted your own? If so, what have you planted in them?
*******
Source: DIY Natural