
Do you love outdoor cooking? Me too! Experience and trial and error, the best teachers, have taught me a few tips that I’ll share with you.
Early Summer is one of my favorite times of the year. The days are so long and the weather is warm but not too hot yet. Living in Michigan doesn’t let us cook outside all year around. So we need to make the most of it when summer is here. Here are some tips to make the best of your Summer cookouts.
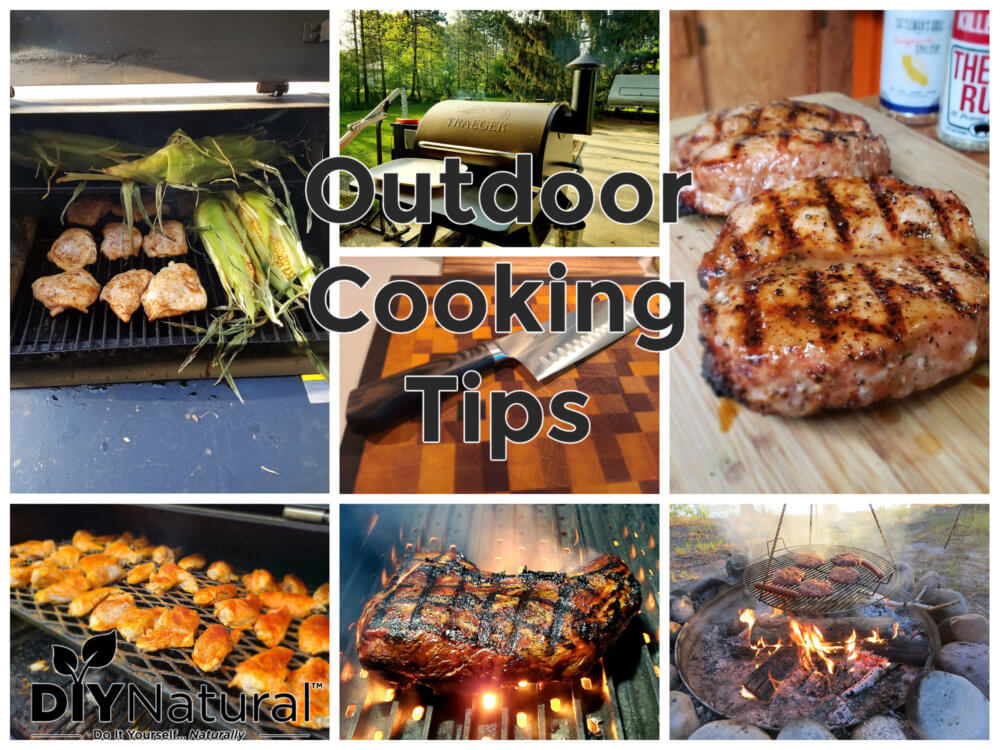
Outdoor Cooking Methods
Options, you have many. While there are some really wild ideas out there like a solar oven or rocket stove, I want to keep this list a little more conventional. No one method is better than the other and each has its best application.
Grill
The first that comes to mind for many is a grill. They usually are either gas (propane) or charcoal. Gas is easy to start and regulate temperature. While Charcoal does take a little more effort, it will give your food a great flavor. Just be sure you use a chimney starter and not lighter fluid!
Griddle
A very popular method today is using a flat-top griddle. They are usually heated with propane similar to a grill but instead of a grill grate, they have a heavy rolled steel top. I’ve had one for several years and it amazes me what I can cook on it. They are great for diner-style smash burgers or how about a great breakfast of bacon, eggs, and toast.
Smoker
Another great way to cook your food is a smoker. Some prefer a vertical smoker while others swear by the traditional offset smoker that uses a side chamber firebox. You can use charcoal or wood fuel in both. These types are best for ribs or briskets but they do need to be tended to keep the temp where you want it. Pellet smokers are similar but use a firebox that an electric auger pushes wood pellets in. You set a dial to temp you want and as long as the pellet hopper is full you can cook for hours and hours without needing to tend it.
Campfire
And lastly, let us not forget about a good old-fashioned campfire. From the basic hot dog on a stick to a tripod with a grill rack or even a Dutch oven down in the coals campfire cooking is as simple as it gets. Be sure to use hardwoods for the best flavor.
Outdoor Cooking Tools
Whether you are a professional cook or a backyard armature, you need the right tools to do the job. Set yourself up for success. While there are many amazing gadgets out there, I would start with these first.
Knife
A quality chef’s knife doesn’t have to break the bank and you will find has many uses. Matt has this same knife and uses it every day. It is unbeatable.
Cutting Board
This goes hand in hand with the knife. Wood or bamboo is best. If you insist on plastic, stick with polyethylene. Stay away from glass or marble unless you want a new knife.
Tongs
I have a couple of different lengths and they work for just about everything.
Spatula
Just like the tongs, a couple of different sizes make the jobs easier.
Instant-read Thermometer
While the dial on the lid of your grill tells you the temp above your food, you really need to know the temp of the food. I have an instant-read thermometer that ensures the difference between a medium and a medium-rare steak.
READ RELATED: A Mustard-Based Carolina Style BBQ Sauce Recipe
Gloves
Nitrile (rubber) for food prep. Thick leather or silicone grilling gloves for the really hot stuff
Outdoor Cooking: The Food
While this may sound like common sense, pick out quality food. Managers’ special isn’t always the finest thing and you will taste a difference. Ground brisket for burgers is so much better than ground chuck every time. I often say this but if you have access to fresh herbs, they make such a difference in the end result.
Don’t overdo the seasonings. Sometimes fewer is better. Let the meat be the star of the show. The same goes for sauces. If I am making Buffalo wings, I always keep some of them naked for a savory alternative.
And finally, let it rest. You just put in all that effort in that steak, pork butt, or brisket. Don’t blow it by serving it right away. Let the steak rest for at least 5 minutes, longer for large, slow-cooked meats like brisket and pork butt. Resting allows time for the juices to redistribute back into the steak and not run out when you first cut into it. Some meats only take a few minutes like fish or chicken. However, I let a beef brisket rest for hours. This is not unique to outdoor cooking, always let the meat rest!
Always Have a Plan
While sometimes I can wing it, I almost always plan out the meal. Do you have all the ingredients? Running out of something as simple as black pepper can sure disappoint the meal. I prep the food ahead of time. Get everything out, measure it out, and then put it together. If you’re in a hurry, it’s easy to miss steps or leave out something. If you’re running tight on time, start your prep the day before. You can trim your meat or make a sauce the night before.
Knowing how long it takes for outdoor cooking can be a challenge sometimes. Just because it takes a certain amount of time one time, it might not take as long, or worse it takes longer the next time. The rule I live by is: “it’s done when it’s done”. You really can’t rush an eight-hour cook of a pork butt. I might start a little early and then let it rest longer in a cooler (they keep food warm too) wrapped in butcher paper or aluminum foil and insulated in an old bath towel or newspaper. If it’s a long cook like ribs, brisket, or pork butt, plan out some appetizers that will be done early for some nibbles while the food finishes.
Take Notes
I don’t make beef ribs very often, but one time I did and they were extraordinary. A year later I went to make them again. I couldn’t remember exactly what I did previously. They still were good, but just not like before. Make a mistake or leave out an ingredient? Get a notebook and make sure you write it down. Simple things like “add more salt” will go a long way the next time.
Practice Your Outdoor Cooking
Practice makes perfect. I’d like to think that I can cook just about anything. However, sometimes you make mistakes and are humbled. I bought a dozen and a half eggs and practiced cooking them over-easy on my flat-top griddle before I got it right. Several lessons were learned in the process. I was cooking way too hot, then not enough butter, then flipping too soon, and then…
Knowing how long a grill takes to heat up will save you time in the long run. All grills, smokers, flat-tops, and other outdoor cooking equipment are different. Learn your cooker. Is the top rack cooler than the bottom? What about hot/cold zones? It’s a bummer when you burn some of the food while the other might not be done. You may have to move things around to get it all done at the same time.
Clean As You Go
Clean up as you go. It makes the dreaded clean-up process a lot less of a pain in the pork butt. Take care of your equipment too. Don’t wait to clean those grill grates the next time you grill. Your fish will thank you for cleaning the grill grates after those bacon burgers you had a week ago.
Relax and Enjoy Outdoor Cooking!
This is fun! Summer is all about getting outside and breathing in the fresh air. Let’s make the most of it. Grab a cold beverage and pull up a chair. Let your family or friends be part of the fun while it cooks. Put your grill out where everyone will be. Have fun by setting up a game or two of Corn-hole or Ladder ball.
What are your favorite outdoor cooking tips?
*******
Source: DIY Natural – Food
Leave a Reply