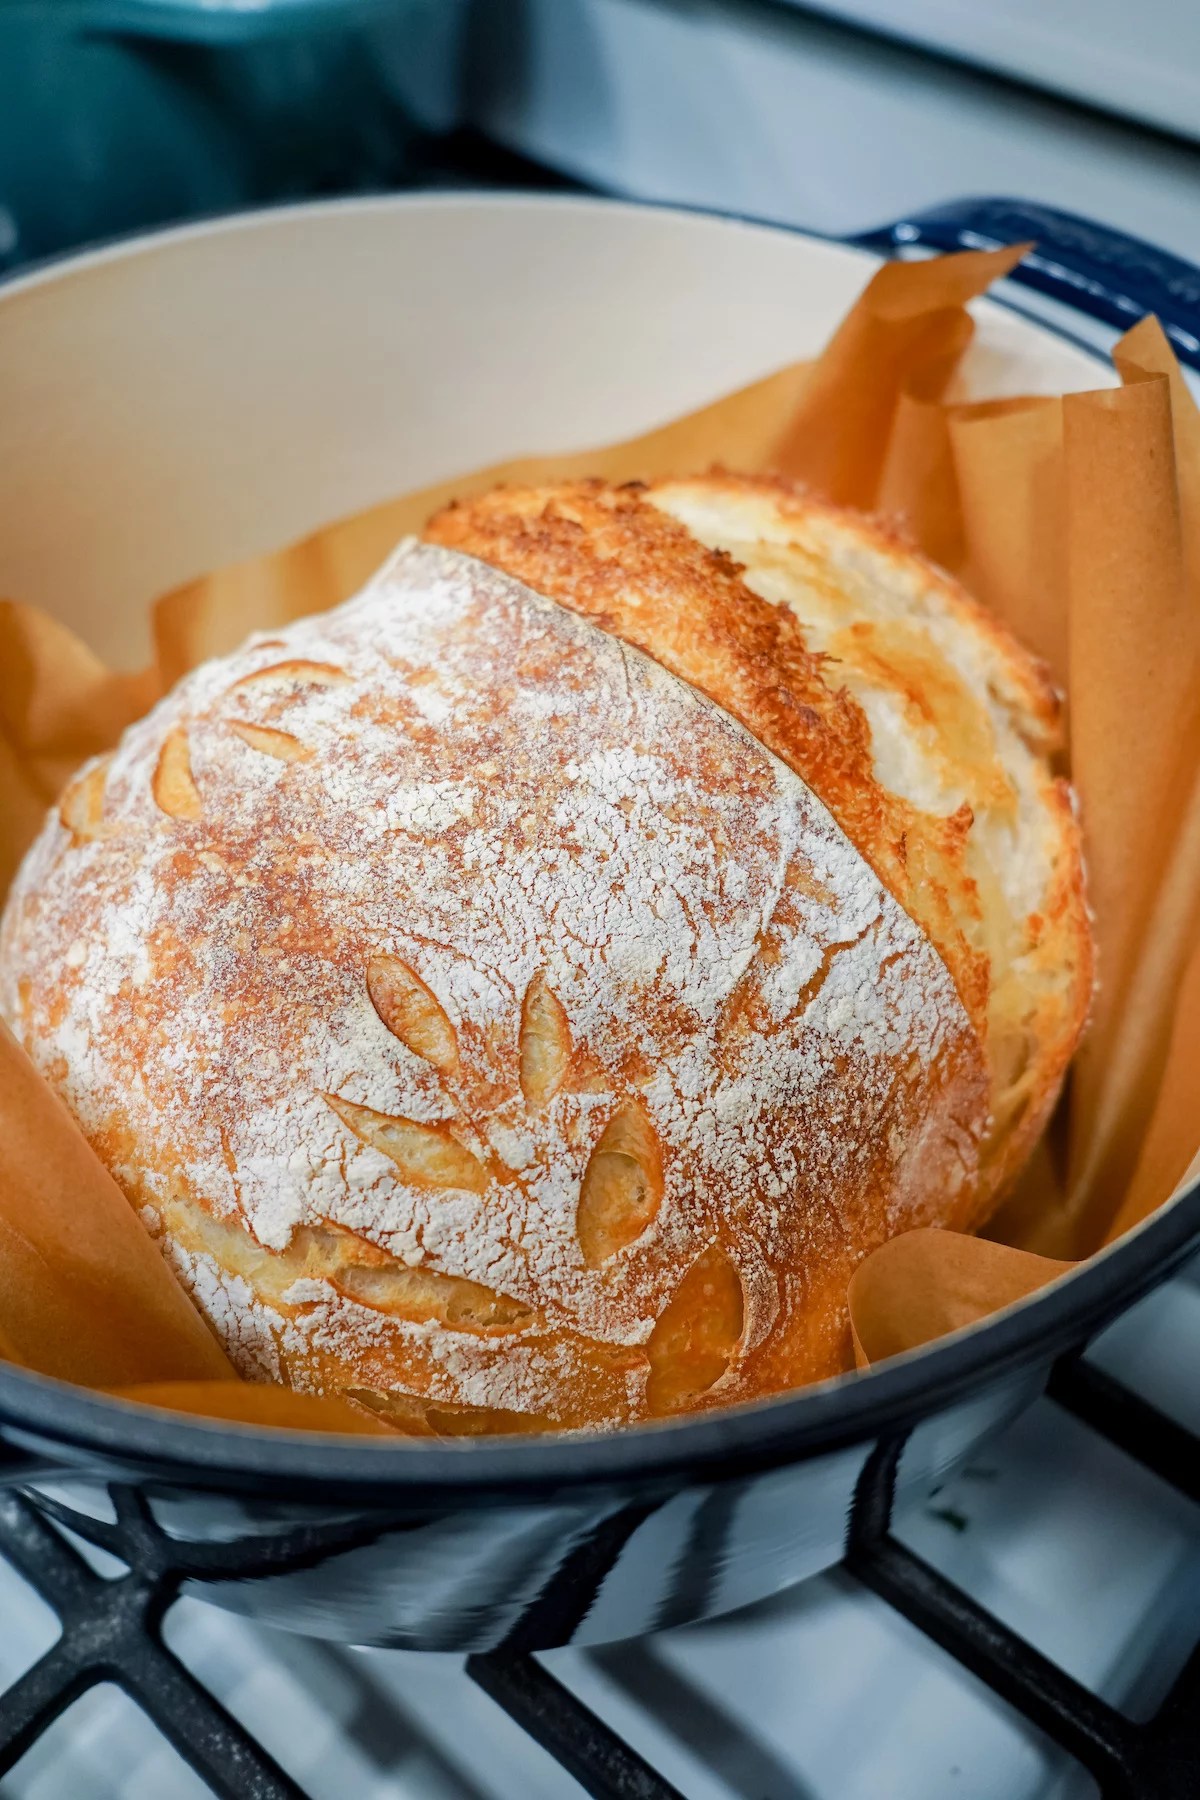
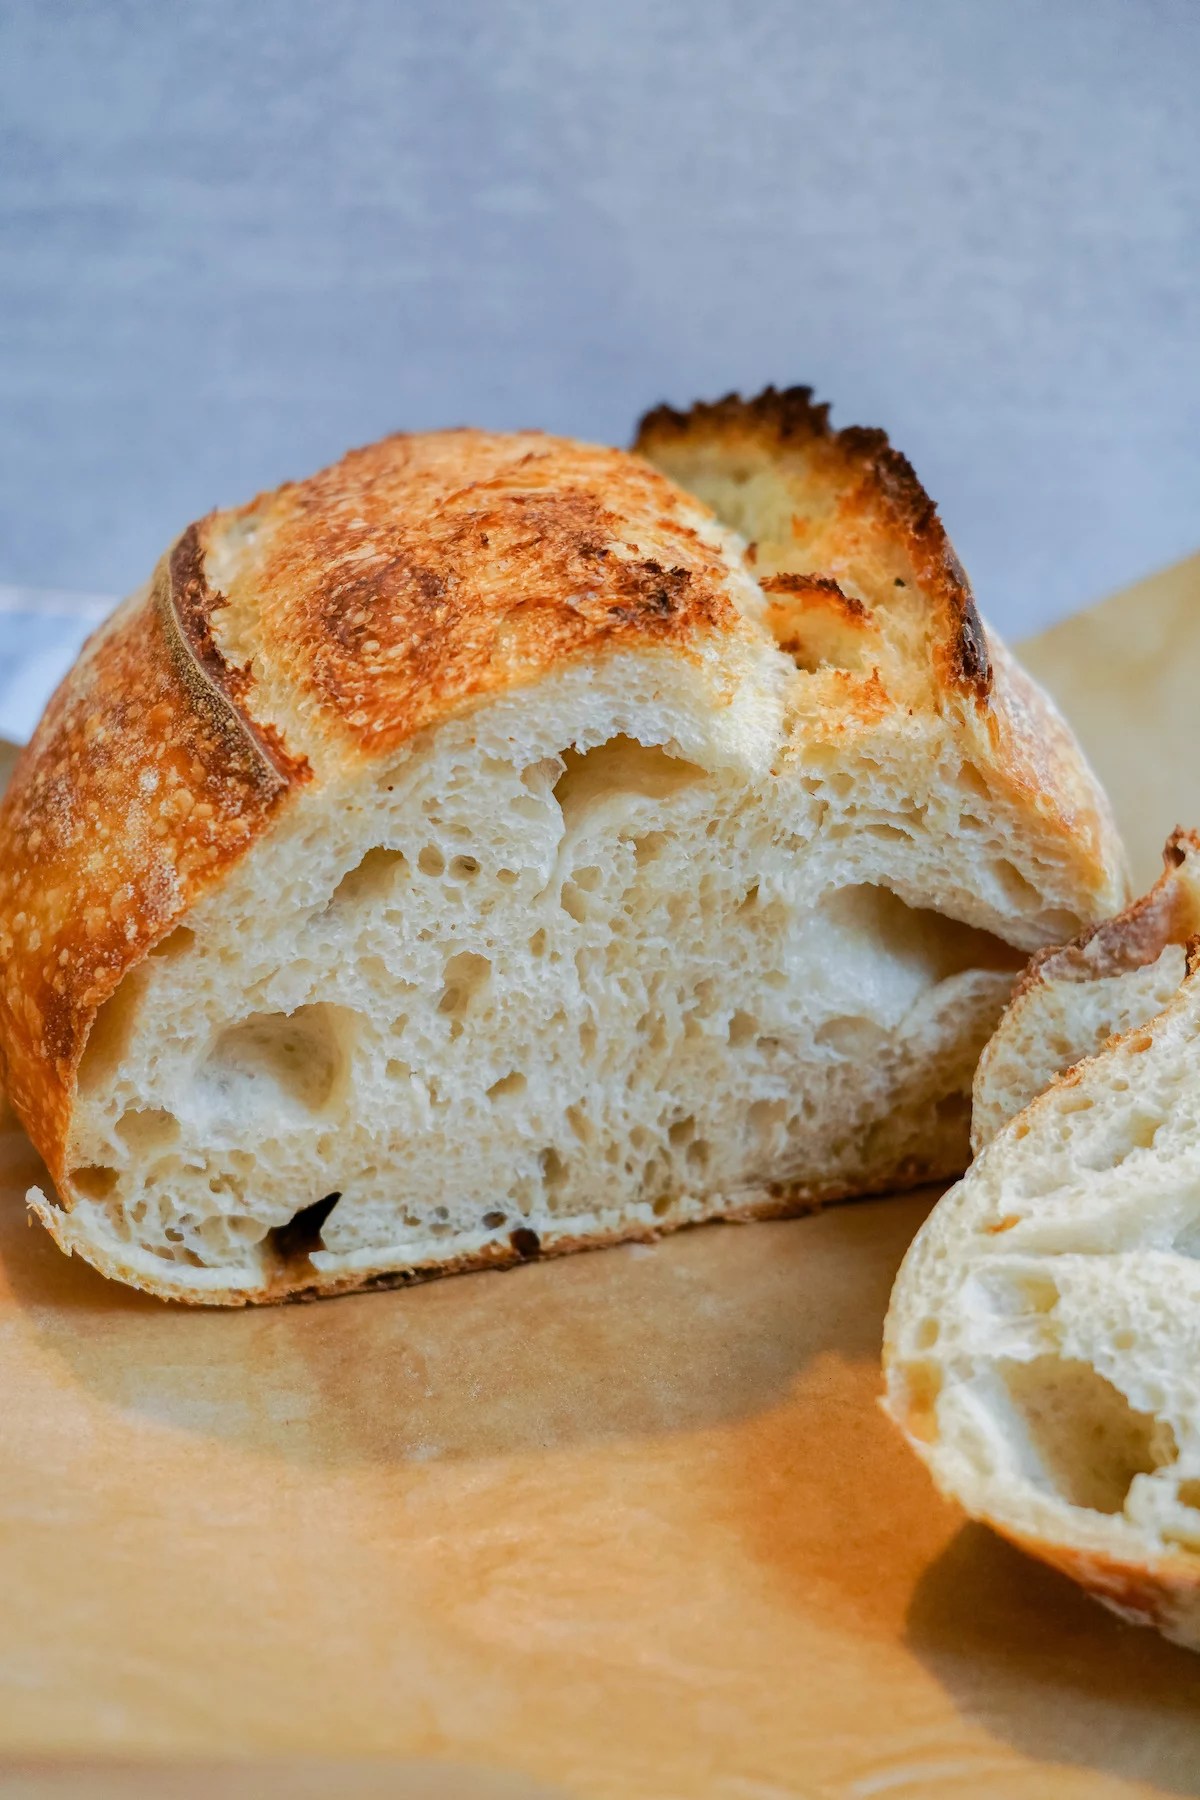
For me, making sourdough starter for the first time gave the term a “food baby” new meaning. Keeping mine happy and healthy was a full-time job (ironic, I know) for the last month and a half: it needed to be fed, groomed, loved. My starter was also very fussy when it came to changes to its environment—or my own routine. That said, as the expression goes, good things don’t (always) come easy. After several weeks of nurturing my sourdough starter to life, I can proudly say that I’ve successfully completed the task, and the reward has been bakery-worthy loaves of bread baked fresh from my kitchen.
Ahead, I delve into the most frustrating sourdough bread mistakes I made (so you won’t make them) and some of the best tips that helped me finally achieve a healthy and happy starter. And yes: While it was quite the journey, I wouldn’t want it any other way.
Why I chose to embark on this sourdough bread journey
Who doesn’t love a toasty slice sourdough bread slathered with warm butter? Plain and simple, it’s a near-perfect food group. And butter aside, sourdough’s packed with gut-healthy properties that nutrition experts and gastroenterologists can’t get enough of thanks to its natural probiotics. That said, there’s no doubt picking up a loaf of this specialty bread from the local bakery is far easier than making it at home. So, why on earth would I choose to do so?
Well, for starters (pun intended), I knew it would be gratifying to see the final product come to life…and who doesn’t love a little bragging rights? Yeah, I made that sourdough loaf from scratch. But the best part of all is that sourdough starter can make so much more than just a loaf of delicious, dreamy, crusty, and steamy bread. Think: Sourdough pizza, pancakes, muffins—the list goes on—on tap with just a few hour’s notice.
That said, this isn’t my first sourdough rodeo. During culinary school, we were tasked with making sourdough bread—but I (with my instructor’s permission) “cheated” on the assignment. The head pastry chef of the school graciously shared their already-prepped and thriving sourdough starter with the students in the interest of saving time. As such, I felt it would be fitting to come full circle and reach out to my alma mater for a little helping hand as I embarked on making sourdough *truly* from scratch for the very first time.
This is why I called up Jürgen David, the director of pastry research and development at the Institute of Culinary Education, to help me master the skill once and for all. Of course, he was ready with some wise words and plenty of sourdough wisdom.

The nitty gritty details of making sourdough starter from scratch
Before jumping right in, keep in mind that setting yourself up for success ahead of time is vital. By this, I mean gathering the right tools and ingredients. I’ll break it down and share my favorite products I used throughout the process.
Tools: Kitchen scale (that measures in grams, like this one from Amazon that’s currently on sale for under $10) and sourdough starter jar kit (this one comes with everything you need, including a jar, lids, band, and scraper). *A few non-essential extras: Blue painter’s tape (IYKYK) and a permanent marker (to label the container).
Ingredients: Unbleached bread flour (I prefer Bob’s Red Mill Artisan Bread Flour), filtered water (it’s imperative that it’s filtered), a few organic grapes, and a drizzle of honey. Plus, a whole lot of patience.

Sourdough starter instructions, per David’s guidance:
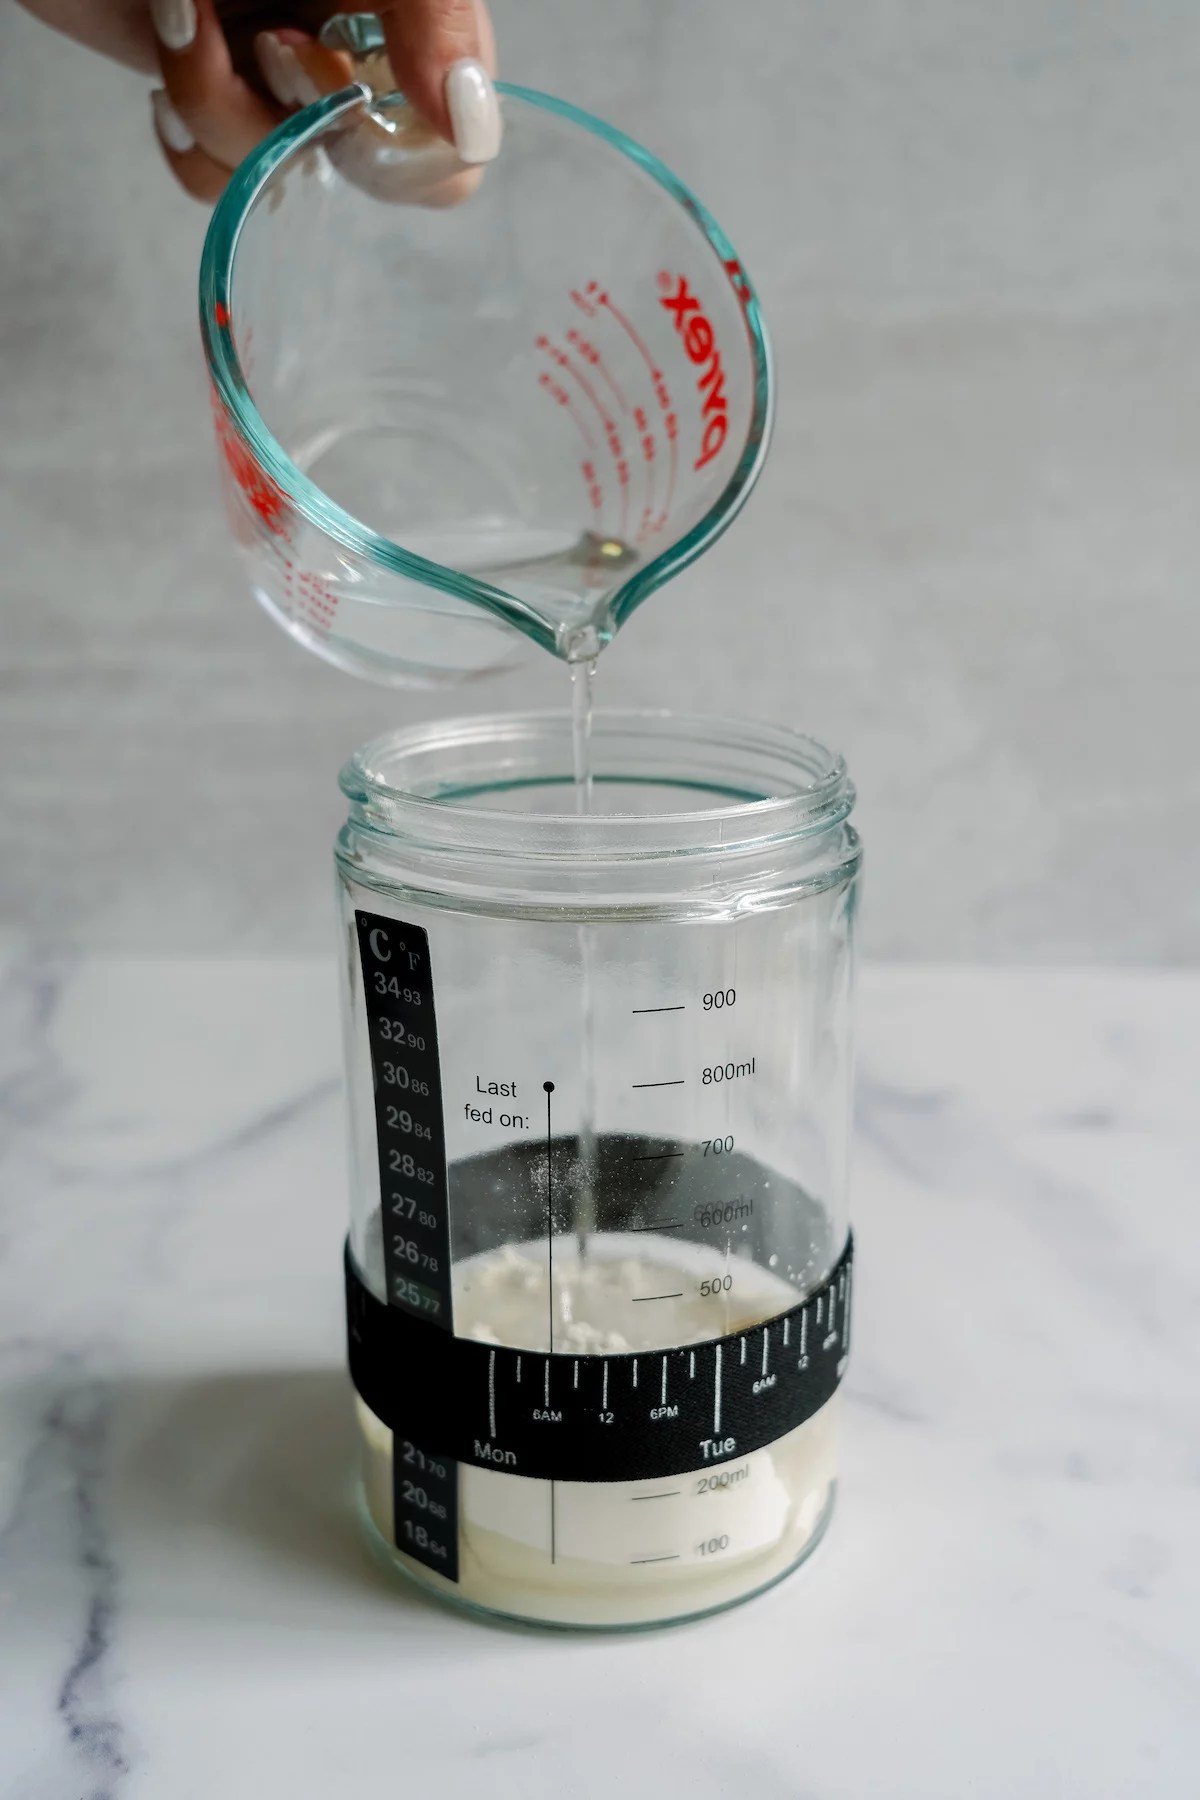
- Start with 65 grams of cool water and 65 grams of bread flour, a few organic grapes, and a drop of honey. Stir everything together in a clear quart container, close the lid, mark (with a dry-erase marker or rubber band) the highest point of the starter to help monitor day-to-day growth, and let it sit at room temperature until the mixture looks bubbly. This will take several days and vary depending on the temperature of the room. (The warmer, the faster. The colder, the slower.)
- On the third or fourth day, feed the starter 65 grams of flour and 65 grams of water. If it’s very bubbly at this point, remove the grapes. (Note: The grapes don’t add flavor; the mold on the outside helps the starter ferment. So, ensure you don’t wash them before adding them.) Generally, the grapes have already served their purpose after day three, so you can remove them around then.
- Next, keep the starter at room temperature and continue feeding it daily to build it. But, before feeding it, it’s important always to discard half—this is called your sourdough discard, which can be used to make other recipes—while reserving the remainder. Essentially, you’ll want to maintain a 1:1:1 ratio of starter, fresh flour, and water until the sourdough starter is active.
How can you tell your sourdough starter is active?
According to David, smell is one of the most important indicators that your sourdough starter is ready. “The starter will have a strong, acidic, sour smell, like very intense yeast. This is due to the fermentation at work here,” he says. “As the starter evolves, the odors will become more pronounced. As long as you feed the starter daily, the appearance will not change much, but it will be more bubbly. However, if you reduce the frequency of feedings, the starter can develop a strong smell of vinegar or acetone and may have liquid on the surface.”
That said, the baking expert says it shouldn’t be too much cause for concern. To mitigate the stench, David suggests simply restoring the balance. “The liquid is harmless and can be stirred into the starter for a more acidic flavor or discarded. To restore the balance of the starter, feed it on a regular basis again,” he says. This will help the starter regain its pleasant, slightly acidic sourdough smell.
In addition to smell, appearance can help indicate the readiness of the starter. The bubblier it is, the more active the fermentation has become. Ultimately, according to David, the starter is ready when it doubles in size within an hour or two of feeding and has a pleasant yeast and sour smell. You can also conduct the sourdough float test using a small portion of the starter to see if it’s good to go. “An active starter will float in water because of its carbon dioxide content,” David says. On the other hand, if it sinks, it likely needs a few more feedings and days to ferment.
READ RELATED: ‘I’m a Gastro, and This Is the #1 Juice I Drink for Digestive Regularity and Anti-Inflammatory Perks’
Lastly, it’s important to point out that getting your starter to baking readiness can require a bit of patience. Meaning that it’s certainly not an overnight project. “It can be ready in as soon as a week, or it can take three weeks. It all depends on the environment and ingredients,” David says. The good news? An active starter will last a lifetime if maintained properly.
Let’s do this, buddy.

A few frustrating (and lethal) sourdough bread mistakes I made that you should avoid
As I mentioned, let me spare you some of the headaches I encountered as I made my sourdough starter for the first time. First and foremost, always, always, always use filtered water. This eliminates the risk of exposing your starter to any harsh contaminants, like chlorine, that can kill it. Next, please ensure—I’m begging you—that the flour you use is unbleached. Highly-processed flour can result in a weak starter or, worse, lead to its demise.
In fact, I suspect this happened to me about a week into making my first batch of starter when I realized I had purchased the wrong type of flour (a bleached one), and suddenly my starter had zero bubbly activity and smelled like rancid sweaty socks. After several (failed) attempts to balance it out, I ultimately decided to start over. And for those doubting me, round two was, in fact, a success.
Always, always, always use filtered water. This eliminates the risk of exposing your starter to any harsh contaminants, like chlorine, that can kill it. Next, please ensure—I’m begging you—that the flour you use is unbleached.
Next, if your starter is taking more than a few weeks to grow and become active, you may have to make some adjustments in your proportions. If you suspect that your starter needs to be fed more to help achieve bubbly goodness and it’s looking too watery and loose, switch to a 1:2:2 ratio of sourdough starter to flour to water for just a few feedings. For example, for every 25 grams of sourdough, feed it 50 grams of flour and 50 grams of water. I switched over to this ratio for two feedings after day 11, which did the trick. By day 13, we had a bubbly, thick starter that passed the float test with flying colors. (Or, others suggest upping the feeding schedule to twice a day using a 1:1:1 ratio—the choice is yours.)
Lastly, it’s critical to ensure you’re feeding your starter on a regular basis and schedule. For example, every day at noon. “Starters are most active after six hours of feeding, so keep that in mind when preparing recipes,” David says. This is important to keep in mind as you won’t want to feed the starter and use it right away as it will be weakened and diluted in strength.
How to maintain a sourdough starter once it’s active
So, yeah: Feeding a sourdough starter—albeit an easy task—can quickly become a cumbersome responsibility. Especially after a few weeks of slow growth that forces you to adapt your travel schedule or social plans to ensure it’s well-fed. Fortunately, there’s an end in sight.
Once the sourdough starter is active, you can slow down the fermentation process and, in turn, reduce the frequency of feedings by storing it in the fridge. When not in use, you can keep the starter in an airtight container in the fridge and feed it only once a week. David says if you notice a dark liquid or skin on the surface of the starter, simply discard that portion before feeding it as per usual. (This can occur if it hasn’t been fed for a while.)

Final thoughts on making sourdough bread from scratch
Ultimately, once the starter is birthed, you’ll forget all of the labor that went into it, and all you’ll be left with is the sheer joy of having produced something so beautiful (and delicious) thanks to a few simple ingredients and a whole lot of patience.
At least, that’s how I felt—and I’ve got the receipts (pictures) to prove it. Come on, how gorgeous is she?

Our editors independently select these products. Making a purchase through our links may earn Well+Good a commission.
Source


