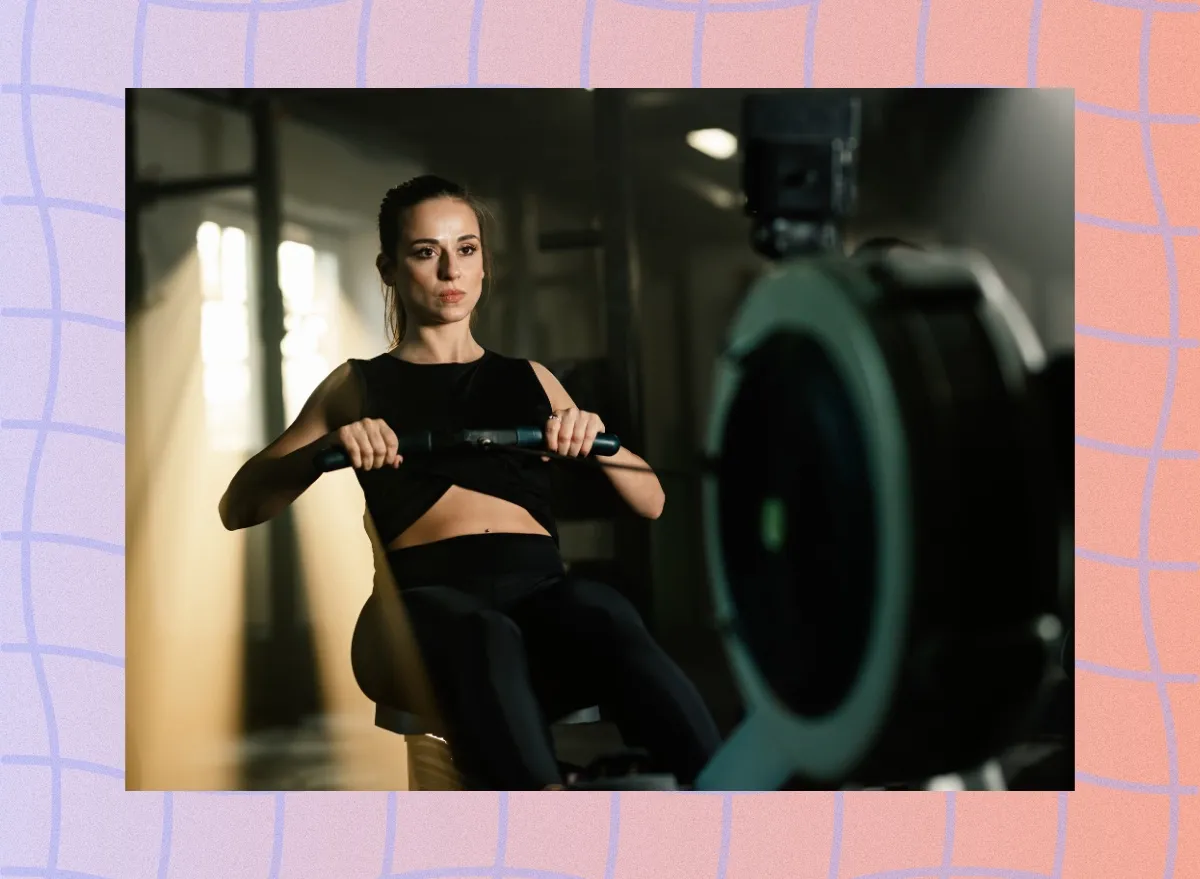
If you’re tired of the same old cardio routines and ready to tackle stubborn love handles, the rowing machine could be your new best friend. Unlike treadmills or bikes, rowers deliver a full-body workout that’s as effective as it is engaging. Every stroke works nearly every major muscle group—legs, back, arms, and, most importantly, your core—making it a fat-burning tool for sculpting a leaner physique. Bonus: it’s low-impact, so you can go hard without hammering your joints.
What makes rowing even better? Its versatility. The rower adapts to your goals, whether you’re zoning out with steady-state cardio, firing up your metabolism with high-intensity intervals, or adding core-focused exercises. In the sections below, I’ll dive into why rowing reigns supreme for weight loss and share four game-changing workouts designed to blast calories, strengthen your core, and melt those love handles.
Table of Contents
How to Use a Rowing Machine
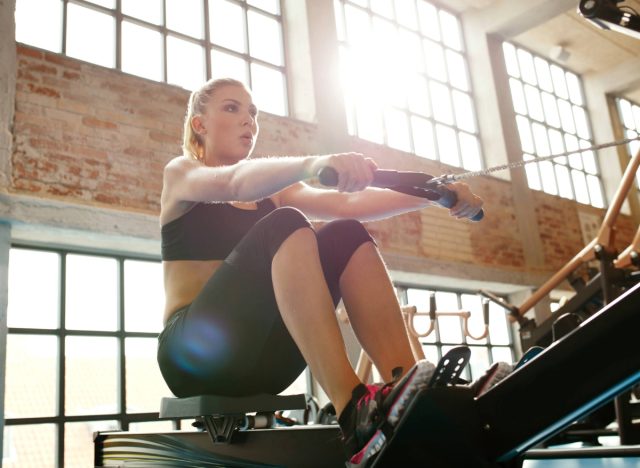
Using a rowing machine might seem straightforward, but proper form is crucial for maximizing results and avoiding injury. Start by adjusting the foot straps so they’re snug but comfortable, ensuring your feet are secure. Grip the handle with both hands, keeping your wrists straight and relaxed.
The rowing motion has four phases:
- Catch: Begin by sitting tall, knees bent, and arms extended forward, gripping the handle.
- Drive: Push powerfully through your legs while keeping your back straight, pulling the handle toward your lower chest.
- Finish: Lean back slightly at the end of the stroke, engaging your core and shoulders.
- Recovery: Reverse the movement, extending your arms and bending your knees to return to the starting position.
Focus on driving with your legs rather than pulling with your arms. Keep your movements fluid and rhythmic for the best results.
What Makes the Rower Great for Weight Loss
The rowing machine is one of my go-to tools for clients and athletes for an intense cardio session. Why? It’s a full-body workout that packs a punch, simultaneously engaging major muscle groups in your legs, back, arms, and core. Plus, it’s a fantastic way to build endurance and torch fat without putting unnecessary strain on your joints.
Here’s why I consistently recommend the rower for weight-loss workouts:
- Total-Body Engagement: Rowing works everything—your legs drive the movement, your core stabilizes you, and your arms and back finish the pull. This balanced effort helps you burn calories quickly while toning multiple muscle groups.
- Boosts Metabolism: Because it builds lean muscle, rowing doesn’t just help you burn calories during the workout—it keeps your metabolism revved up long after you’re done.
- Low-Impact, High-Reward: Whether recovering from an injury or just preferring to avoid high-impact exercises like running, rowing is a joint-friendly option that still delivers results.
- Versatility: From steady-state endurance rows to explosive high-intensity intervals, the rower adapts to your fitness goals and keeps your workouts fresh.
In my experience, athletes and clients appreciate how rowing seamlessly combines cardio and strength training. For weight-loss workouts, it’s unbeatable because you can maintain a steady calorie burn while targeting stubborn areas like love handles. Plus, it’s a fantastic way to boost cardiovascular endurance.
4 Best Rowing Workouts To Melt Love Handles
Workout #1: 1,000-Meter Row with Side Planks
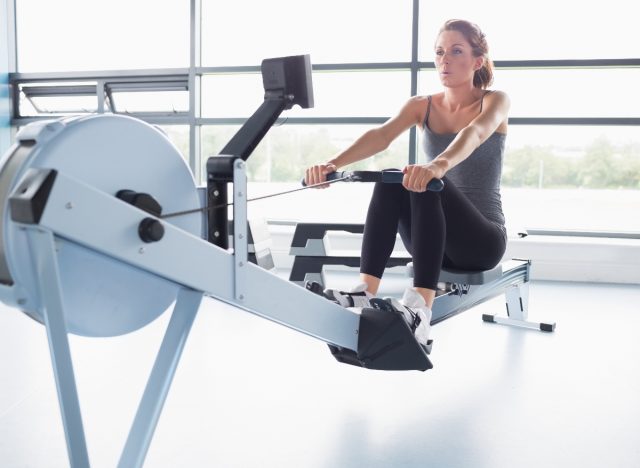
What you need: You will need a rowing machine and a mat for planks. This steady-state cardio workout with core-focused intervals will take about 15–20 minutes to complete, depending on your pace.
The Routine:
- Rowing Machine (1,000 meters)
- Side Plank with Hip Dips (10 reps per side every 2 minutes)
Directions: Complete a steady-state row for 1,000 meters. Pause and perform 10 side planks every 2 minutes with hip dips on each side. Resume rowing until you reach the 1,000-meter mark.
How To Do It:
1. Rowing Machine
- Maintain steady effort throughout the 1,000 meters.
2. Side Plank with Hip Dips
- Begin in a side plank position with your elbow directly under your shoulder.
- Lower your hip toward the ground, then lift it back up.
- Repeat for 10 dips on one side, then switch to the other.
Workout #2: Calorie Ladder with Sit-Up Buy-In and Cash-Out
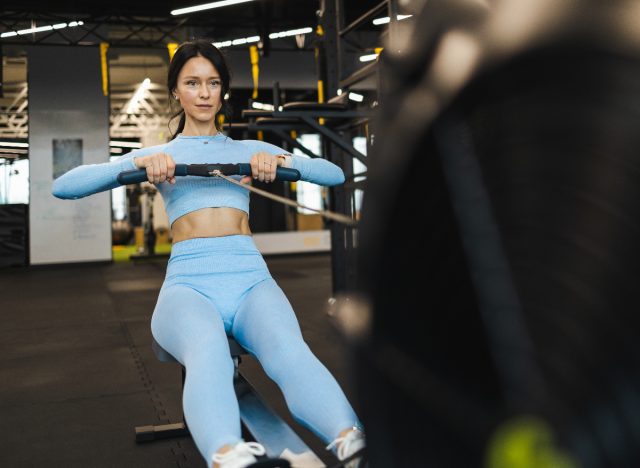
What you need: A rowing machine and a mat for sit-ups. Depending on your pace, this ladder-style workout will take about 20–30 minutes.
The Routine:
- Sit-Ups (20 reps – buy-in)
- Row Calories (10–50 calories in 10-calorie increments)
- Sit-Ups (20 reps – cash-out)
Directions: Start with 20 sit-ups. Then, row for 10 calories in the first round, adding 10 calories each round (10, 20, 30, 40, 50). Rest for 1:00 between rounds. Finish the workout with 20 sit-ups as a cash-out.
How To Do It:
1. Sit-Ups
- Lie on your back with your knees bent and feet flat on the floor.
- Place your hands behind your head or cross them over your chest.=
- Curl your torso up toward your knees, then lower back down.
2. Row Calories
- Focus on a consistent effort to complete the assigned calorie count for each round.
Workout #3: TABATA Intervals
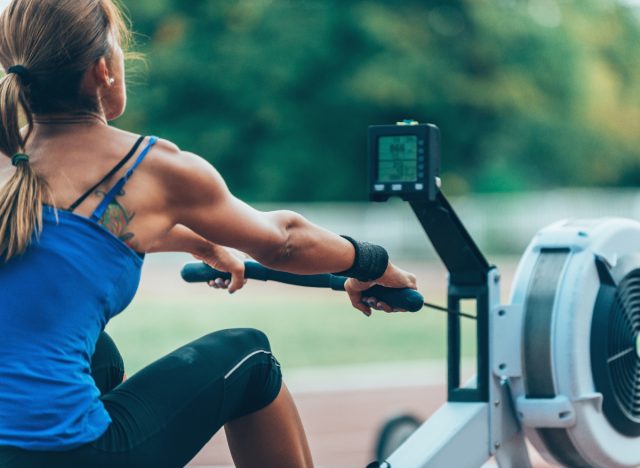
What you need: You will need a rowing machine and a timer. This high-intensity workout takes 4 minutes per TABATA round. If desired, you can repeat for additional rounds.
The Routine:
- Rowing Machine (20 seconds on, 10 seconds off) x 8 rounds
Directions: Perform maximum-effort sprints on the rowing machine for 20 seconds, followed by 10 seconds of rest. Repeat for a total of 8 rounds. Rest for 2–3 minutes between rounds if completing multiple rounds.
How To Do It:
1. Rowing Machine TABATA
- Set the rower for interval training (20 seconds on, 10 seconds off).
- Row as hard as possible during the work intervals.
- Use the 10 seconds of rest to catch your breath and prepare for the next sprint.
Workout #4: Row and Core Combo
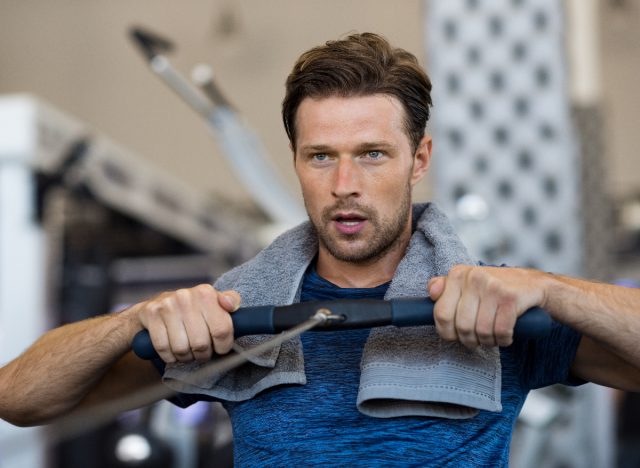
What you need: A rowing machine and a mat for core exercises. This AMRAP workout will take 20 minutes.
The Routine:
- Rowing Machine (400 meters)
- Rower Ab Pikes (10–20 reps)
Directions: Set a timer for 20 minutes. Complete as many rounds as possible (AMRAP) of 400-meter rows followed by 10–20 rower ab pikes. Modify with rower plank knee tucks if pikes are too challenging.
How To Do It:
1. Rower Ab Pikes
- Place your feet on the rower’s seat in a plank position with your hands on the floor.
- Pull the seat toward your hands by engaging your core, lifting your hips into a pike.
- Return to a plank position and repeat.
2. Rower Plank Knee Tucks (Modification)
- Start in a plank with feet on the seat of the rower.
- Pull your knees toward your chest, then extend back to the plank position.
- Repeat.
Jarrod Nobbe, MA, CSCS

